 |
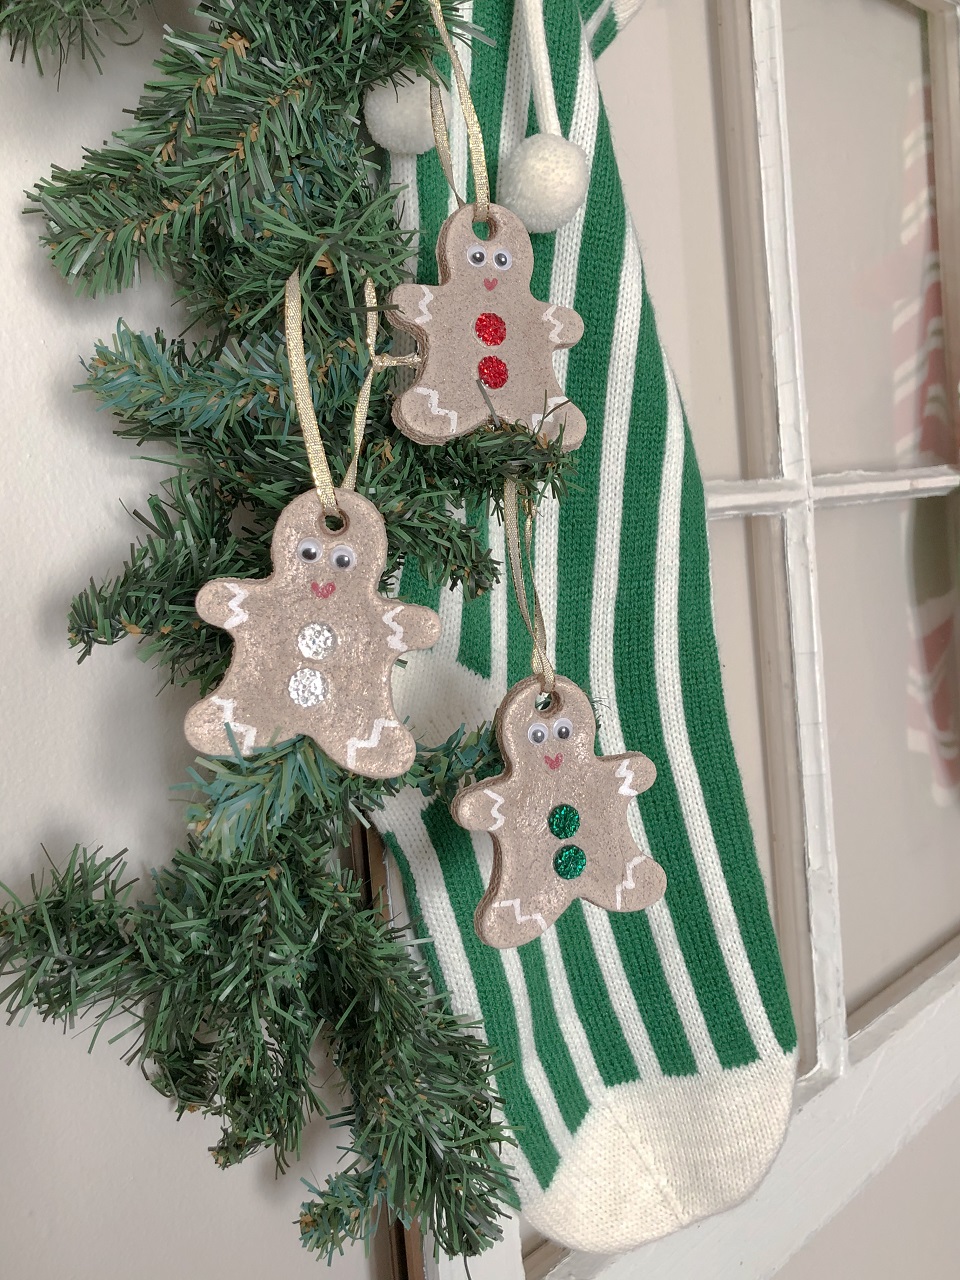
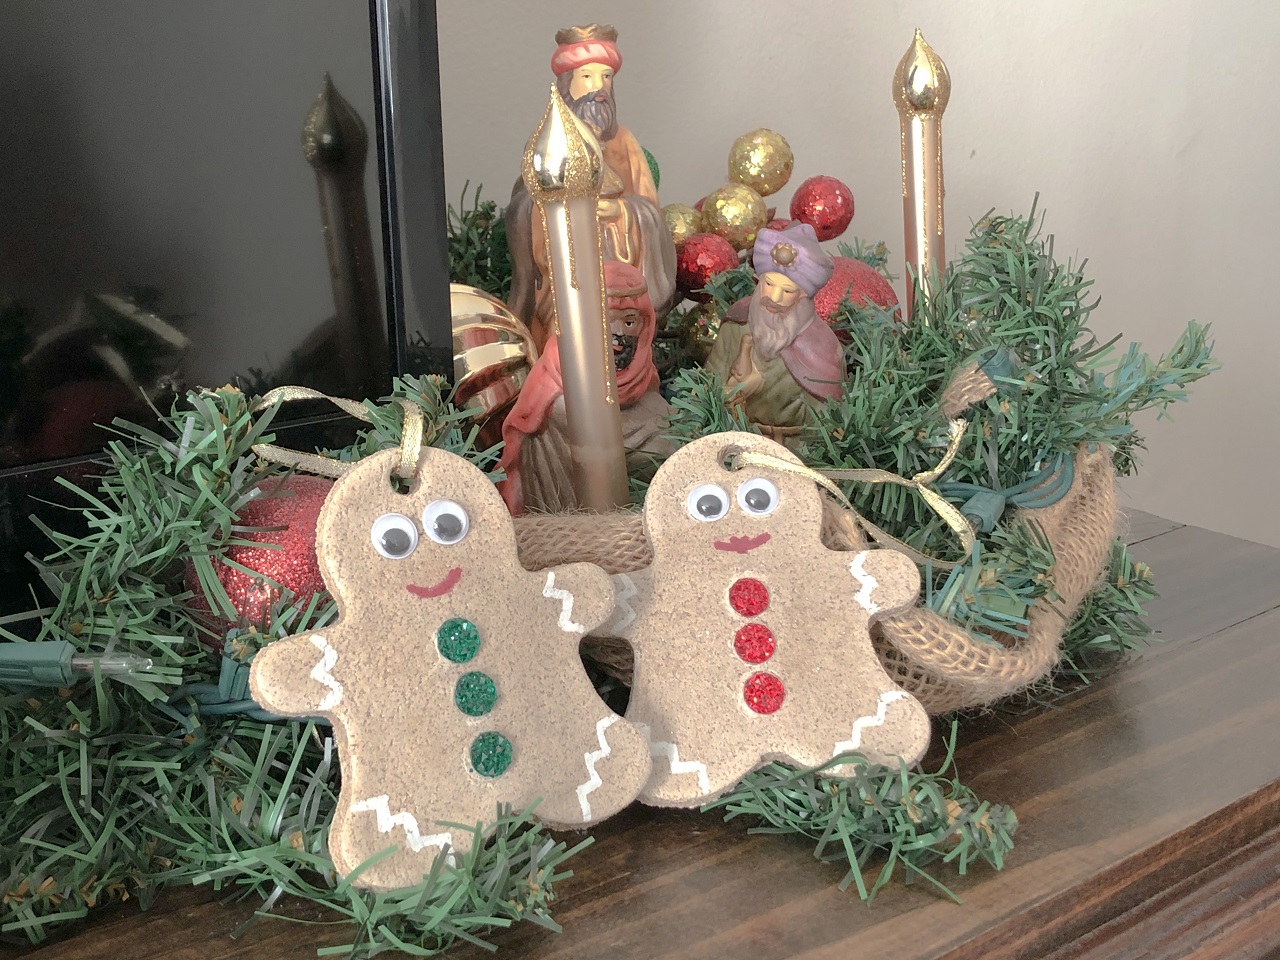
| I created a special gingerbread ornament for each of my babies! Red jewel buttons for Elora, pearl for Evie, and green for Zeke! |
 |
| These ornaments not only look yummy, but they smell amazing, too. (Just don't eat them!) |
 |
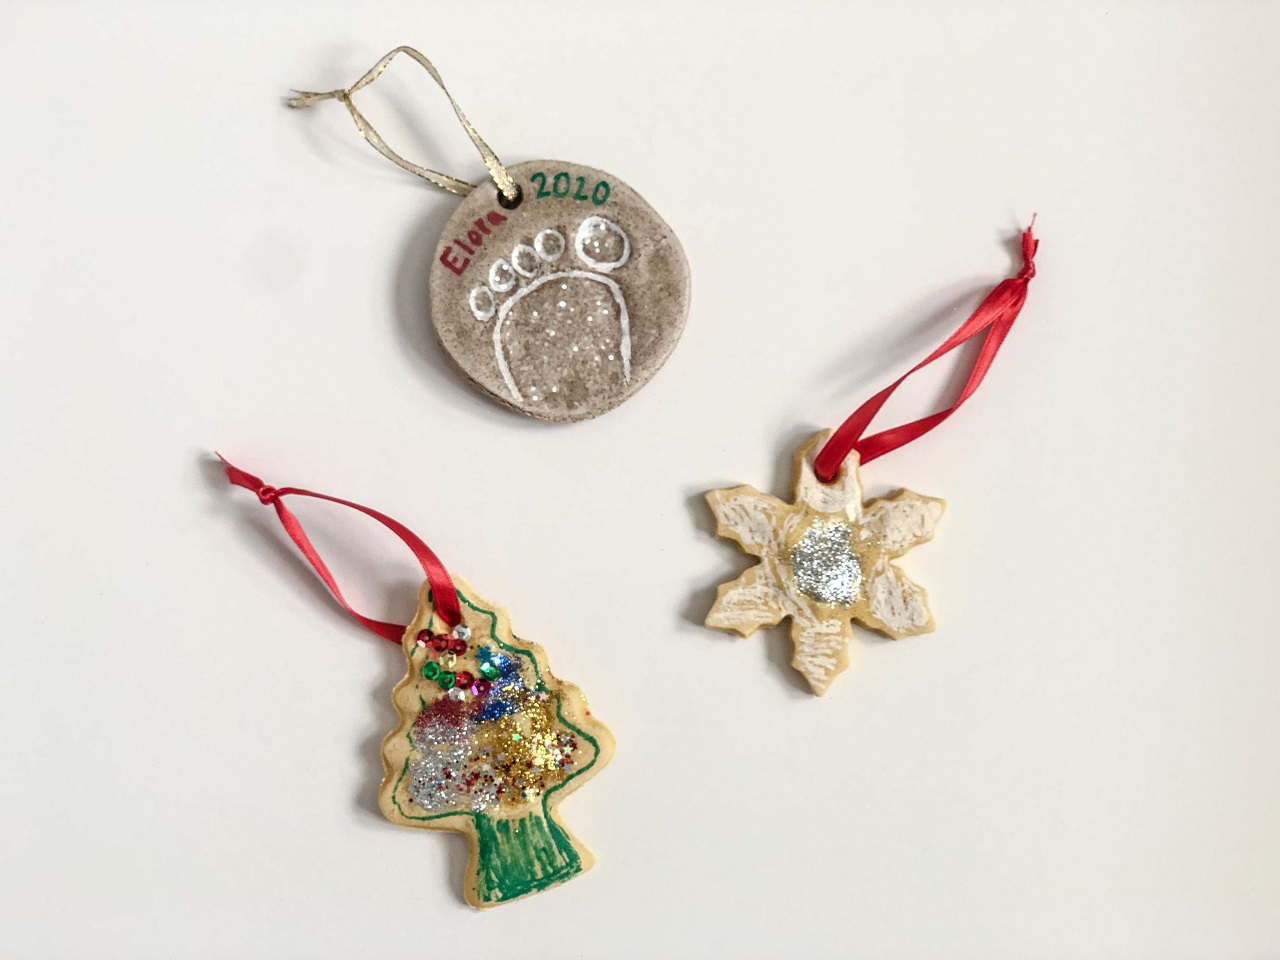
| A special ornament to commemorate Elora's first Christmas (gold ribbon) & Evie's creations (red ribbon). |
A few tips before you get started:
*make sure you use all purpose flour, even on your rolling surface, so your ornaments don't proof
*adding spice to your salt dough makes your ornaments smell amazing, but they're completely optional
*use cookie cutters to create the ornament shapes
*use a straw to gently poke a hole into your ornament BEFORE baking so you can add ribbon later
*number of ornaments each batch of salt dough makes depends on size of cookie cutters
*it's good to have ideas ready for what you want to make, but leave room for spontaneous creativity
*after baking ornaments, allow to cool before painting or decorating
*you can air dry your ornaments instead of baking, just give them 24-48 hours to set completely before decorating
*for best results, air dry for 24 hours before baking
*please note, ovens vary so trial and error may occur, starting on temps between 200° - 250° may keep ornaments from “puffing” up
*glitter, gems, paint, and markers add beautiful touches to the ornaments
*use mod podge to seal your creations so they can be enjoyed year after year
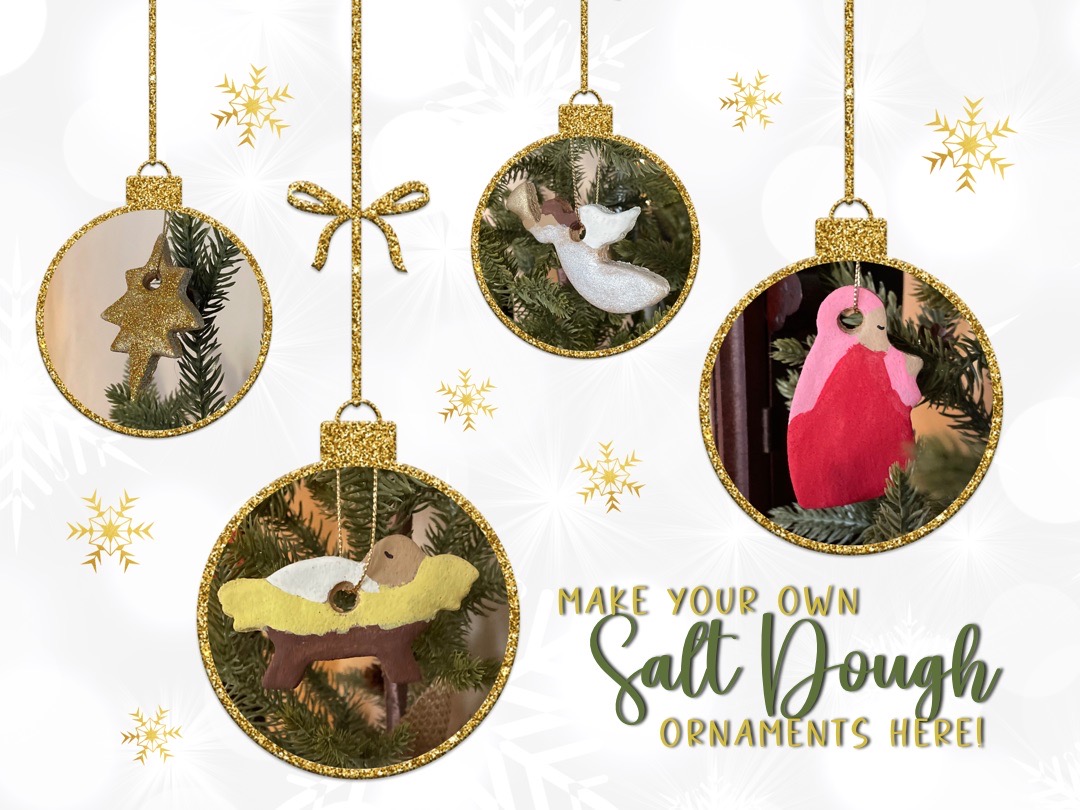
This year I found a set of Nativity cookie cutters that I could not wait to make ornaments out of! My husband has been collecting Nativity sets since before we were dating, so he was the first person I wanted to create them for! Now we have extra special ornaments to enjoy on our very own Nativity tree!
I'm sharing my momma's salt dough recipe so you can make your own Christmas keepsakes this year! These are perfect for making with your family and gifting to loved ones! The creative possibilities are endless!
Happy Blogmas & Merry Christmas!


